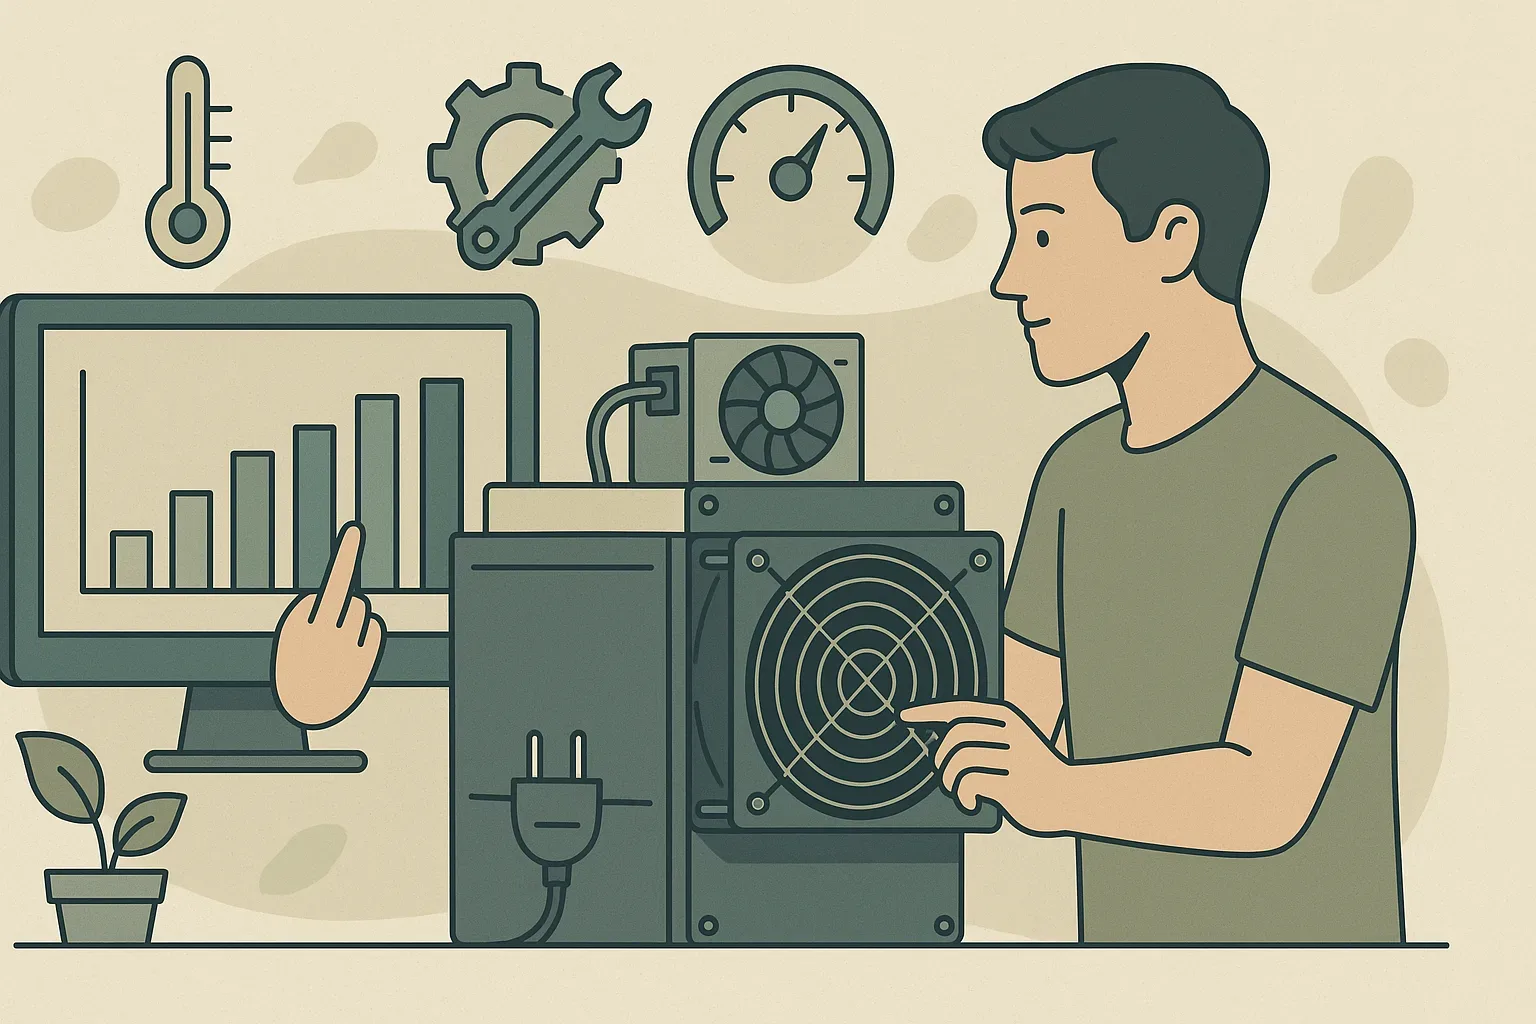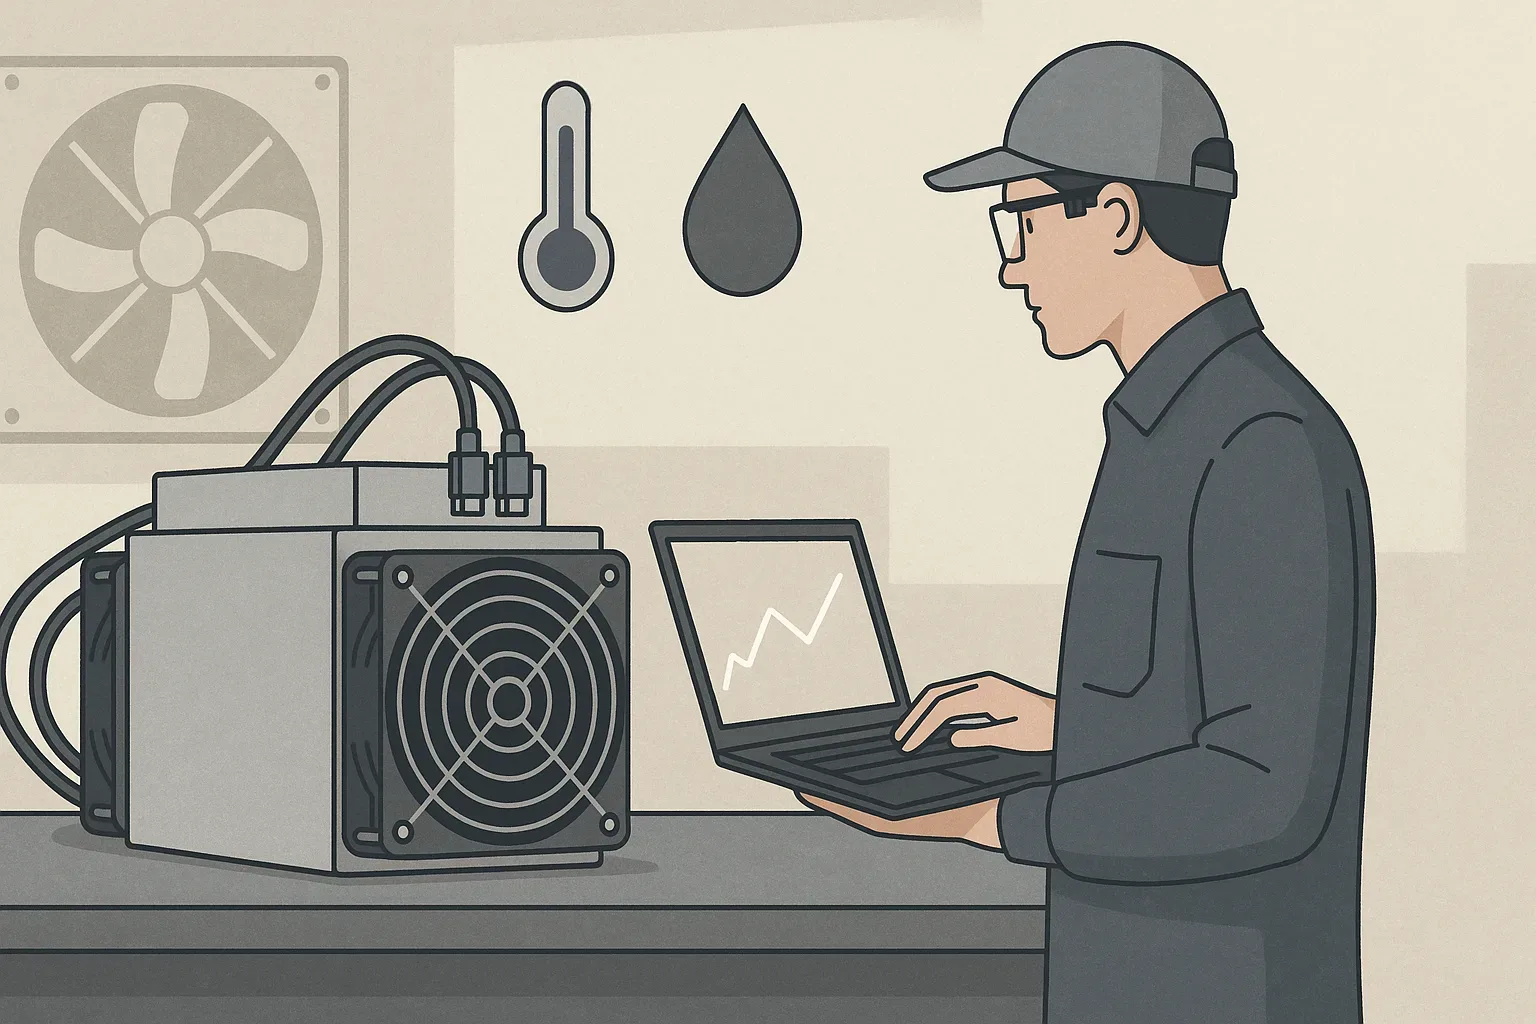
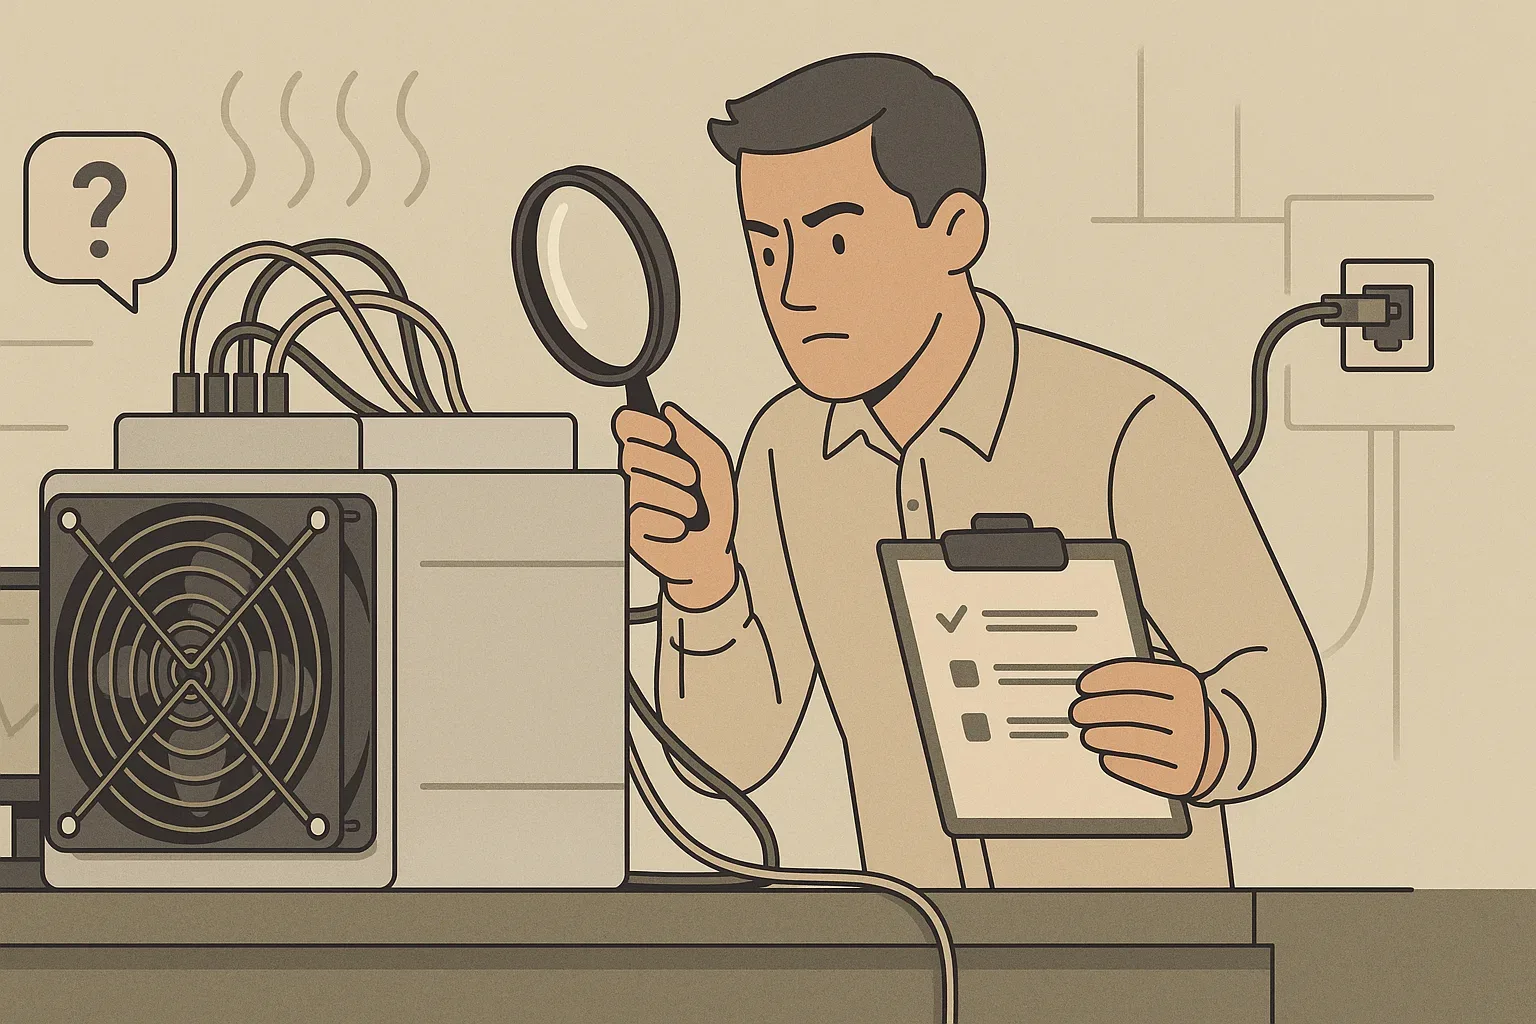
Operating an ASIC miner efficiently requires consistent uptime and optimal performance. This guide details a step by step methodology to diagnose and fix the most common ASIC miner issues, from power failures to network errors and performance degradation, ensuring your mining operation remains robust and profitable.
Understanding Common ASIC Miner Problem Categories
For instance, a miner that is completely unresponsive likely has a power issue, while a miner that powers on but shows no shares being submitted points more towards network or hashing board problems. This initial categorization is the first step in a logical diagnostic path.
Initial Troubleshooting Steps: The Foundation of Diagnosis
Before diving into complex diagnostics, always begin with a few fundamental checks. First, ensure safety by disconnecting the miner from power before any physical inspection. Perform a thorough visual inspection: check all cables for secure connections and visible damage, particularly the power cables connecting the power supply unit (PSU) to the wall and the hash boards. Look for any loose components, dust accumulation, or signs of burning or component failure on the control board or hash boards. Verify the operating environment – is it too hot, too cold, or excessively humid? Ensure adequate airflow around the miner. Lastly, a simple reboot often resolves transient issues; power down the miner completely, wait 30 seconds, and then power it back up.
What are the most common reasons an ASIC miner stops working or has low hashrate?
Power supply unit (PSU) failure or inadequate power delivery is a leading cause for a miner completely stopping. If the PSU cannot provide stable and sufficient power, the miner will either fail to boot or shut down unexpectedly. Network connectivity issues, such as a faulty Ethernet cable, incorrect IP configuration, or a disconnected internet connection, will prevent the miner from communicating with the mining pool, resulting in zero hashrate or failure to register work. Hardware failures, specifically on the hash boards, are another frequent culprit for low hashrate. Overheating, caused by insufficient cooling, dusty environments, or malfunctioning fans, leads to thermal throttling or emergency shutdowns to prevent damage, manifesting as intermittent operation or reduced performance.
Diagnosing and Resolving Power & Startup Failures
When an ASIC miner fails to power on or repeatedly shuts down, the power system is the primary suspect. Begin by verifying the wall outlet is providing power using another appliance. Check the integrity of the main power cable from the wall to the PSU. If the PSU has an indicator light, observe its status – a solid light usually means it's receiving input power. Next, inspect the internal power cables connecting the PSU to the control board and hash boards; ensure they are firmly seated and undamaged. Some miners have diagnostic LEDs on the control board that indicate boot status or error codes. If all power connections are secure and the PSU is verified, try disconnecting one hash board at a time (if applicable) to see if a faulty board is drawing excessive power and preventing startup.
How do I systematically troubleshoot an ASIC miner that won't power on or loses connection?
For power-on issues, start at the source: confirm the power outlet is active. Check the main power cord for any damage and ensure it's securely plugged into both the wall and the Power Supply Unit (PSU). Observe the PSU's indicator lights (if any) – a green or blue light usually signifies proper input power. Verify that all PCI-E power cables from the PSU are correctly and firmly connected to the hash boards and the control board. If available, swap the power cord with a known good one. For connection loss, begin by inspecting the Ethernet cable; ensure it's undamaged and securely plugged into both the miner's control board and the network router or switch. Check the network status lights on the miner's Ethernet port – blinking lights typically indicate activity. Access your router's administration interface to confirm the miner is receiving an IP address. If it is, attempt to ping the miner's IP address from a computer on the same network. Verify the miner's network settings (IP address, subnet mask, gateway, DNS) are correct and not conflicting with other devices, ideally set to DHCP for simplicity unless a static IP is specifically required. Ensure there are no firewall rules blocking the miner's outgoing connections to the mining pool. Lastly, verify the mining pool URL and port are accurately entered in the miner's configuration. This step by step process helps isolate whether the problem is physical power, internal component failure, or a network configuration error.
Fixing Hashrate Drops and "No Hash" Scenarios
Start by accessing the miner's web interface to view its status page and logs. Look for specific error messages related to hash boards, individual ASIC chips, or temperature warnings. A common cause for reduced hashrate is the failure of one or more hash boards. If a board is identified as faulty, try reseating its power and data cables. Overheating is another major contributor to hashrate drops, as miners will throttle performance to prevent damage. Check fan speeds and internal temperatures. Ensure a stable, low-latency connection to the mining pool. Lastly, confirm that the mining pool URL, worker name, and password are correct in the miner's configuration.
Troubleshooting Network Connectivity and Pool Communication Errors
Network issues are a frequent cause of miner downtime. First, verify the physical connection: ensure the Ethernet cable is securely connected to the miner and your router/switch and that the cable itself is not damaged. Check the LED indicators on the miner's Ethernet port; typically, a solid link light and a blinking activity light indicate a healthy physical connection. Next, access the miner's web interface and navigate to the network settings. Ensure the IP address, subnet mask, gateway, and DNS server settings are correct for your local network. If you use a static IP, double-check that it's unique and within your network's range. Try to ping the miner's IP address from another device on your network to confirm basic network reachability. If the miner has an IP but still cannot reach the pool, check your router's firewall settings to ensure they are not blocking outgoing connections on the mining pool's port. Lastly, verify that the mining pool URL and port configured in the miner are absolutely correct. Minor typos can prevent communication. For example, some pools use 'stratum+tcp://' and others 'stratum://'. Consider also if your internet service provider might be throttling or blocking specific ports.
What network settings should I check if my miner can't connect to the mining pool?
If your ASIC miner is struggling to connect to the mining pool, a methodical check of its network settings is essential. Begin by verifying the physical Ethernet cable. Ensure it is undamaged and firmly seated in both the miner's port and your router or switch. Look at the LED indicators on the miner's Ethernet port; a solid link light and a flashing activity light indicate a good physical connection. Next, access the miner's web interface and navigate to its network configuration section. Confirm the miner's IP address. If it's set to DHCP, ensure it has successfully obtained an IP address from your router. Crucially, check the Subnet Mask, Default Gateway, and DNS Server settings. The gateway should be the IP address of your router, and the DNS servers should be reliable (e.g., your ISP's DNS, Google's 8.8.8.8, or Cloudflare's 1.1.1.1). An incorrect gateway or DNS server will prevent the miner from reaching the internet. Additionally, ensure there are no local firewall rules on your router or network that might be blocking the specific ports used by your mining pool (e.g., typically 3333, 443, or 80). Finally, in the miner's pool settings, double-check the mining pool URL and port for any typos. Even a single incorrect character will prevent connection. Sometimes, switching to a different mining pool URL or port if provided by your pool can help diagnose if the issue is pool-specific or network-wide.
Addressing Overheating and Fan Malfunctions
Overheating is detrimental to ASIC miner longevity and performance. High temperatures cause thermal throttling, reducing hashrate, and can lead to permanent hardware damage. Start by monitoring the temperatures reported in the miner's web interface, paying attention to both chip and board temperatures. Compare these to the manufacturer's recommended operating temperatures, which you can often find by understanding how to read an ASIC miner spec sheet. If temperatures are consistently high, first ensure the ambient room temperature is within acceptable limits. Improve airflow by clearing any obstructions around the miner and ensuring proper ventilation in the mining space. Clean the miner thoroughly to remove dust buildup from heatsinks and fans, which can severely impede cooling. Check each fan for proper operation; listen for unusual noises or visually confirm they are spinning at full speed. Fan failure is common, and a malfunctioning fan will lead to rapid overheating. Ensure all fan cables are securely connected to the control board. If a fan has failed, it must be replaced promptly. In extreme cases, consider relocating the miner to a cooler environment or enhancing the cooling system with external fans or improved HVAC.
How can I identify if my ASIC miner is overheating and what are the immediate steps to take?
Identifying an overheating ASIC miner typically involves a combination of monitoring and physical observation. The most direct method is checking the miner's web interface. Navigate to the status or dashboard page, where chip and board temperatures are usually displayed. Compare these readings against the manufacturer's specified maximum operating temperatures. Readings consistently near or above the upper limit are a clear sign of overheating. You might also notice a decrease in the miner's reported hashrate as it attempts to thermally throttle. Physically, you can listen for unusually loud fan noise, indicating fans are working harder than normal, or conversely, a lack of fan noise if a fan has failed. The air exhausting from the miner will feel excessively hot. In severe cases, the miner may even shut down abruptly as a protective measure. Immediately check the ambient room temperature and improve ventilation around the miner. Ensure there are no obstructions blocking the air intake or exhaust. Thoroughly clean the miner's fans and heatsinks using compressed air to remove dust and debris. Verify that all fans are operational and spinning at their expected speeds when the miner is powered back on; replace any malfunctioning fans. Consider moving the miner to a cooler, better-ventilated area if the environment is the primary issue. These rapid interventions can prevent permanent damage and restore optimal performance.
Advanced Diagnostics: Interpreting Miner Logs and Firmware Issues
For persistent or complex issues, diving into the miner's logs and considering firmware actions becomes necessary. Access the miner's web interface and look for a "Logs" or "System Logs" section. Miner logs provide a detailed history of operations, errors, and warnings. Common log entries to look for include "Fatal Error," "Hash board fault," "Temperature too high," "Network error," or specific ASIC chip errors (e.g., `asic#0 chain#1 fatal error`). These messages often pinpoint the exact component or issue. If logs indicate recurring, inexplicable errors not resolved by basic troubleshooting, or if the miner exhibits unstable behavior such as frequent reboots, random disconnections, or an inability to save configuration changes, a firmware issue might be at play. Before reinstalling firmware, ensure you download the correct, official firmware version for your specific miner model from the manufacturer's website. A firmware reflash can resolve software bugs or corrupted configurations. As a last resort for deeply entrenched configuration problems, performing a factory reset through the web interface (if available) can return the miner to its default settings. This should only be done after backing up any critical configurations, as it will erase all custom settings, including network and pool details.
When should I consider reinstalling firmware or resetting my ASIC miner to factory settings?
Reinstalling firmware or performing a factory reset on your ASIC miner should be considered advanced troubleshooting steps, typically reserved for persistent problems that haven't been resolved through simpler diagnostics. You should consider reinstalling firmware (flashing) when: the miner experiences consistent, inexplicable errors not tied to hardware or network (as indicated by logs); the miner suffers from instability, such as frequent reboots or crashes; specific features are not working correctly; network connectivity issues persist despite verified hardware and configuration; or when a manufacturer releases new firmware versions that address known bugs, improve efficiency, or add new features. Always use official firmware from the manufacturer's website to avoid bricking your device. A factory reset, which reverts all settings to their default values, is more of a last resort. It's appropriate when: the miner's configuration becomes corrupted or unmanageable; you cannot access the web interface due to forgotten passwords (and no recovery option); or after flashing new firmware, the miner still exhibits significant configuration-related issues. Be aware that a factory reset will erase all custom settings, including your pool information, network settings, and passwords, requiring complete reconfiguration from scratch. Always ensure you have a backup of your current settings or a clear record of them before initiating a factory reset.
Preventative Maintenance to Avoid Future ASIC Miner Problems
Proactive preventative maintenance is key to extending the lifespan of your ASIC miners and minimizing unexpected downtime. Regularly clean your miners: use compressed air to blow dust and debris from heatsinks, fans, and circuit boards. Dust acts as an insulator and obstructs airflow, leading to overheating. Perform this cleaning at least monthly, or more frequently in dusty environments. Ensure a stable and clean power supply. Voltage fluctuations or dirty power can stress PSUs and other components, leading to premature failure. Consider using surge protectors or uninterruptible power supplies (UPS) if your power grid is unstable. Monitor your miner's performance and temperatures daily through its web interface or monitoring software. Early detection of rising temperatures or dipping hashrates allows for timely intervention before minor issues escalate. Maintain optimal environmental conditions by ensuring adequate ventilation and keeping ambient temperatures and humidity within the manufacturer's recommended range. Regularly inspect all power and network cables for wear, damage, or loose connections. Periodically check for and apply official firmware updates, as these often contain bug fixes, security patches, and performance improvements that contribute to overall system stability and efficiency. By adhering to a consistent preventative maintenance schedule, you can significantly reduce the frequency and severity of future ASIC miner issues, ensuring a more profitable and reliable mining operation.